This sleek ITX PC case can be 3D printed and ready to go

Serving tech enthusiasts for over 25 years.
TechSpot means tech analysis and advice you can trust.
In a nutshell: Picking a chassis is one of the most critical steps when building a PC. It defines the system’s overall profile and sets limits on internal components. If you can access a 3D printer, this DIY ITX case, with its distinct early 2000s retro look, is a sweet-looking option.
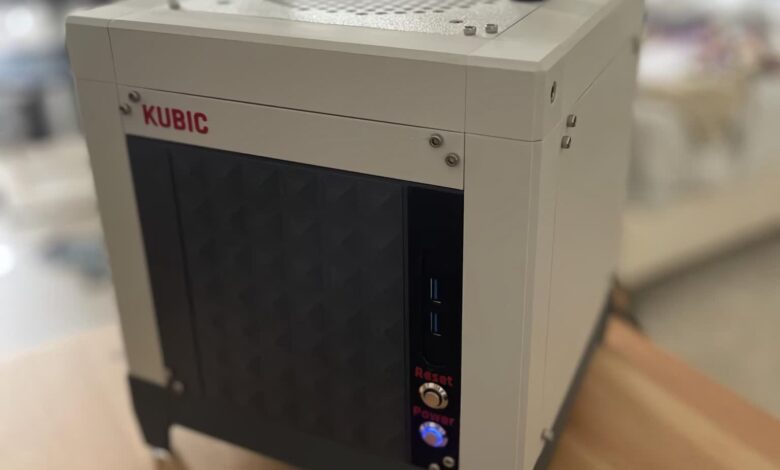
Modder WhoIsLudwig recently released a blueprint and guide for a unique 3D-printed ITX PC case. The chassis can house respectable gaming PC components with decent cooling.
Dubbed the Kubic, this PC casing combines aspects of certain early 2000s retro devices for a unique but nostalgic look. The modder claimed inspiration from the unique workstations released by NeXT in the late 80s and early 90s. The top handle recalls two distinct cube-like devices from the 00s – Apple’s Power Mac G4 Cube and the Nintendo GameCube.

The chassis is designed for ITX profiles to make it accessible to those with smaller 3D printers. He tested it on a Bambu A1 Mini, and it’s printable on any model with at least 180 x 180 mm of bed clearance.
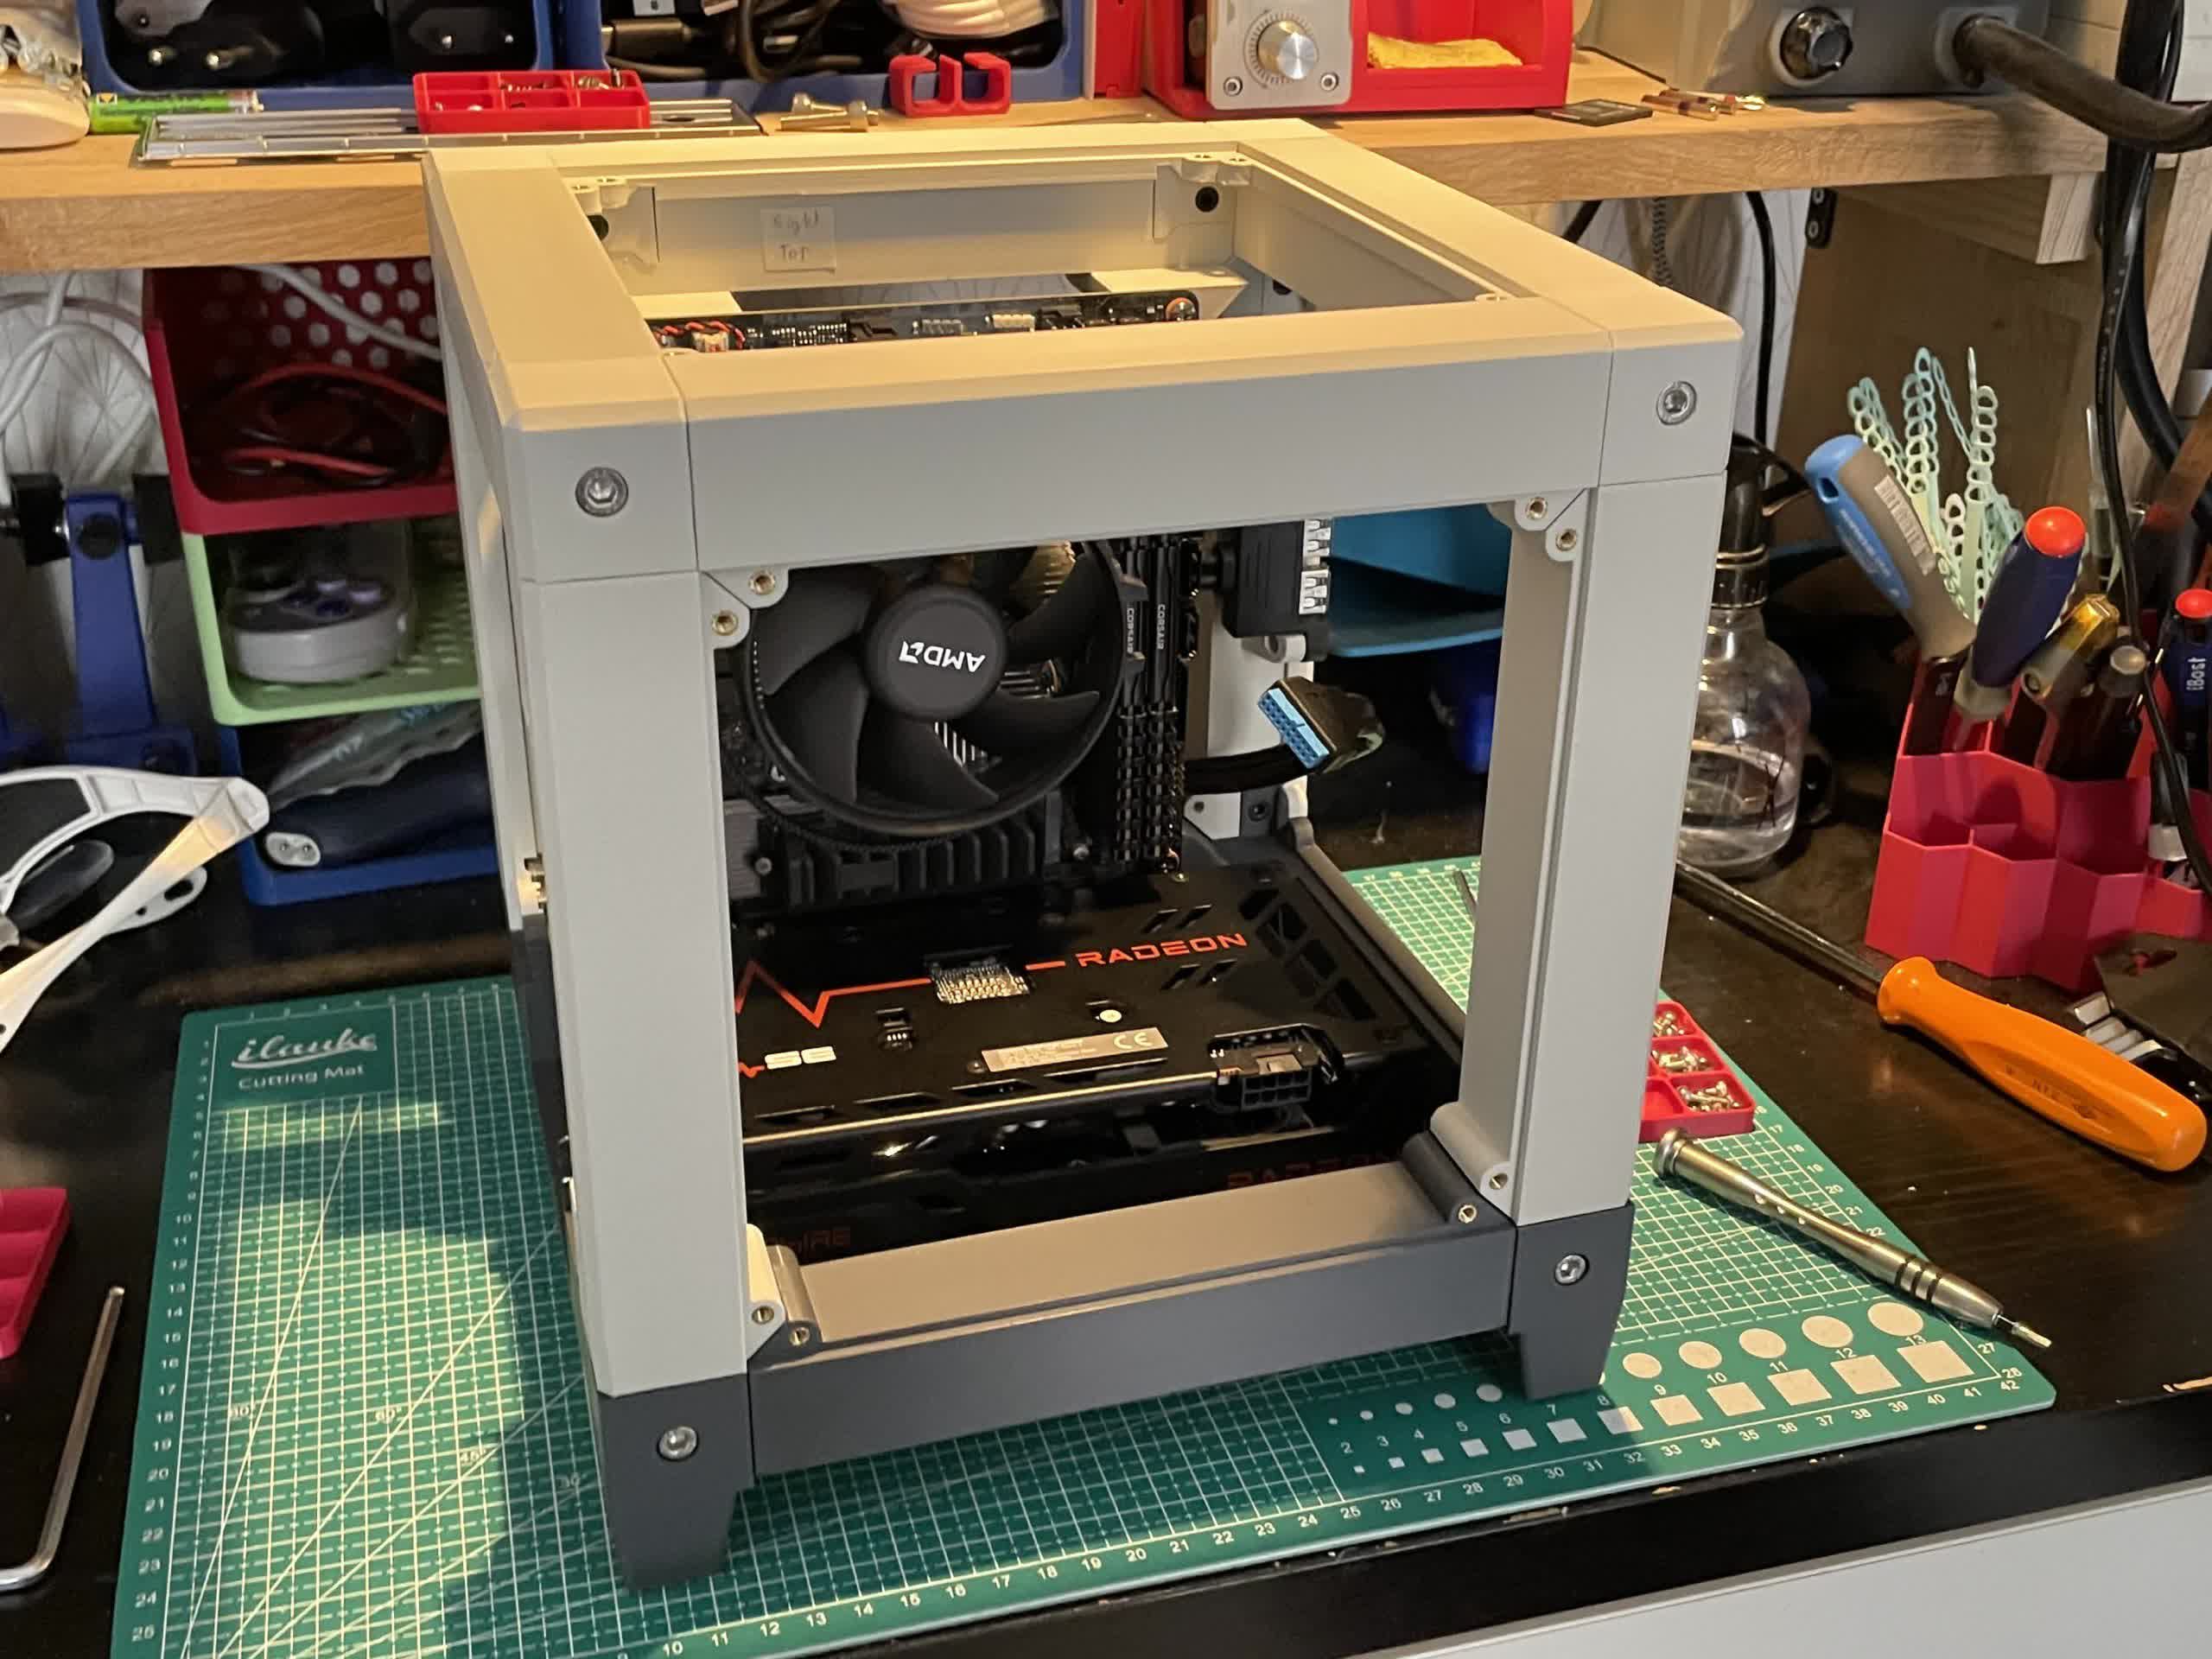
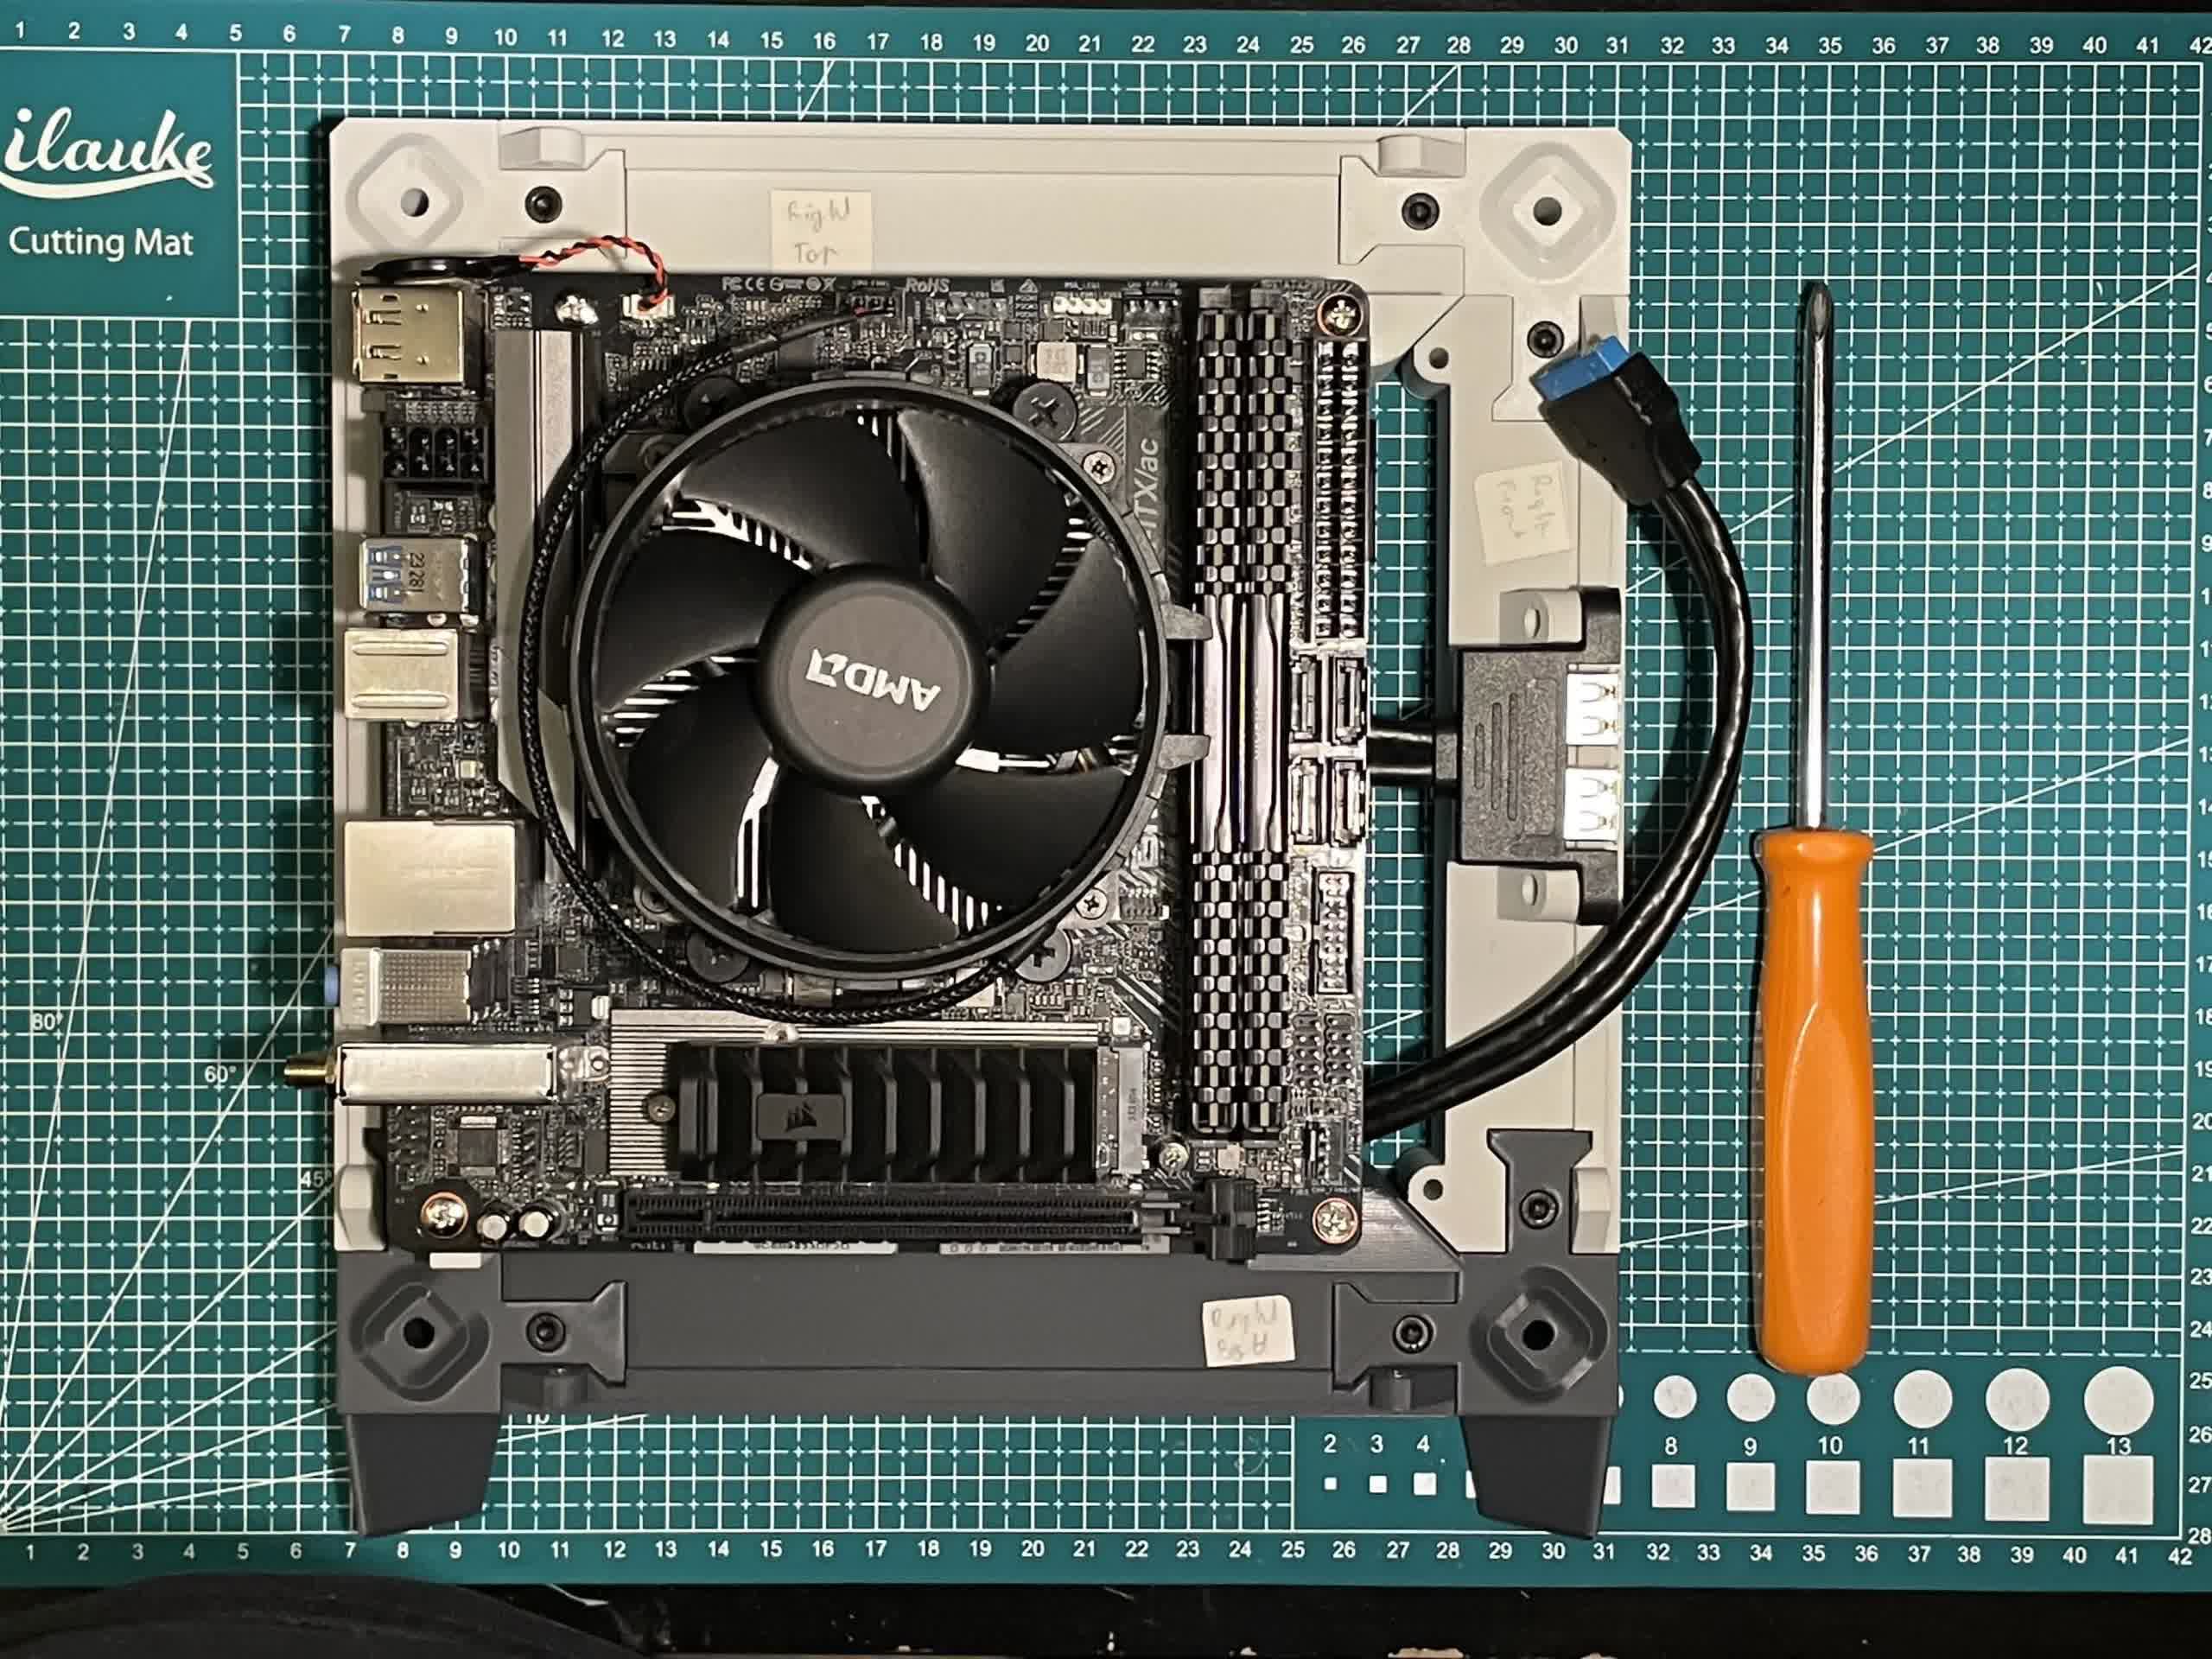
On top of the ITX motherboard, the chassis can fit a CPU heat block and fan with a height of up to 100 mm. It supports any two-slot graphics card with a length of up to 220 mm, mainly including mainstream models like the GeForce RTX 4060, Radeon RX 7600, or their direct predecessors. Builders can add up to four 2.5-inch drives.

The Kubic is limited to SFX power supplies. Modifying the design for an ATX PSU isn’t impossible, but it could introduce thermal compromises.
Chassis fans up to 140 mm and 30 mm thick are supported and are possibly optional for builders relying on integrated graphics rather than distinct GPUs. However, the modder claims a single fan can stabilize a CPU at up to 94 degrees Celsius and a GPU at up to 75 degrees in the worst-case scenario. With an AMD Wraith Spire cooler and an Arctic P14 PWM PST fan, the modder’s AMD Ryzen 5 3600 and RX 6600 never exceeded 75 degrees. The heat intake is on the bottom, with the exhaust on the top.
WhoIsLudwig posted detailed assembly instructions at Autodesk Instructables and the necessary 3D printing file on Printables. He used PLA filament for the project. Screws and a soldering iron are required.


